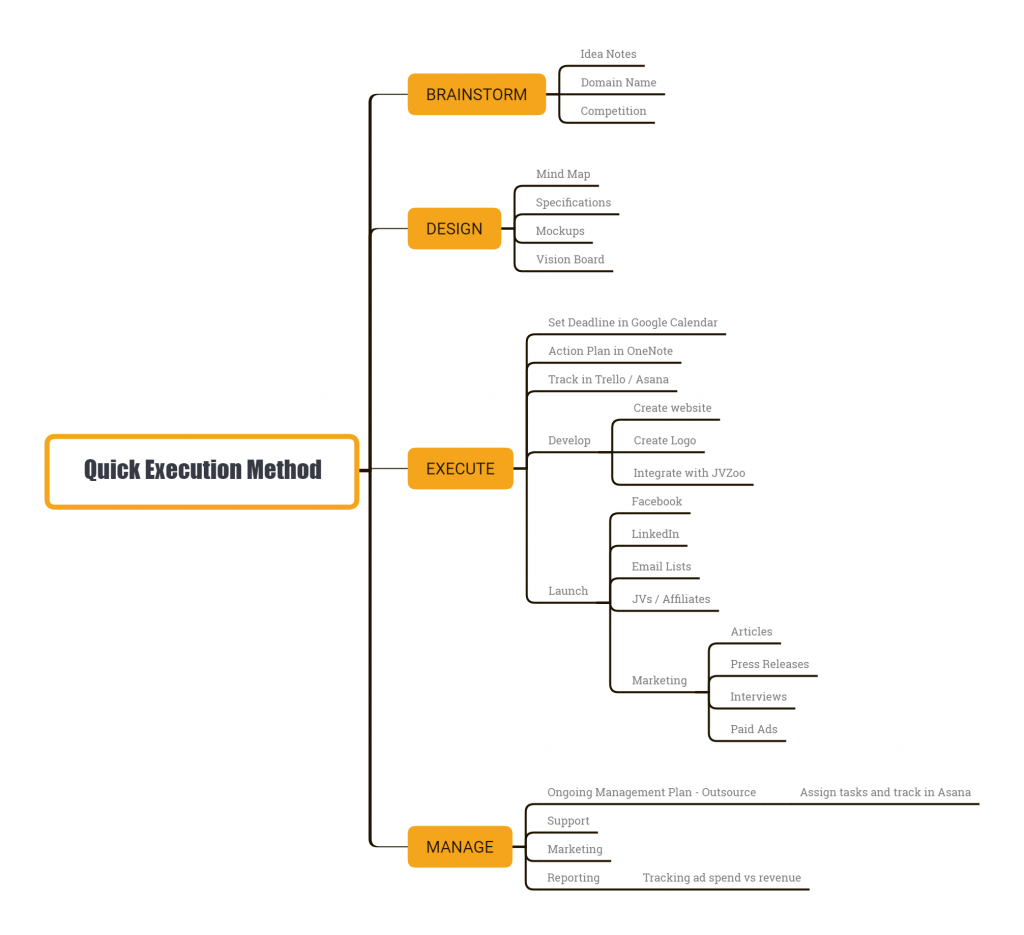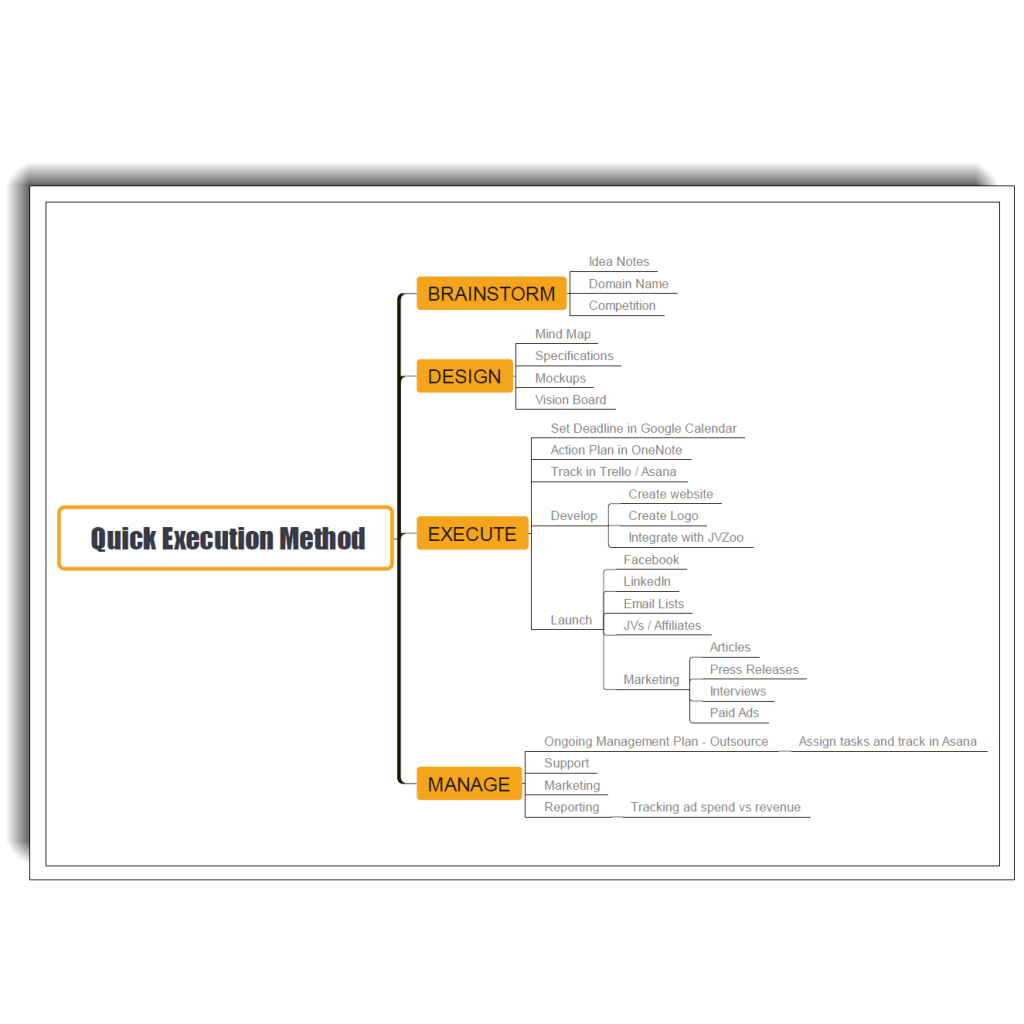
The Quick Execution Method is a methodology that enables the practitioner to quickly, efficiently and effectively execute on tasks, goals, quests and plans.
The methodology consists of 4 distinct phases that work in concert with one another, and can be iterated to achieve continuous improvement in delivering products or services. The 4 phases are:
- Brainstorm – This is where you brainstorm the initial idea and take notes. Check out competition, product/service names, domain name availability etc.
- Design – This is where you design what you are creating. Whether or not it’s a product, service or just a one off document you are producing or task that needs completing.
- Execute – This is the most important phase. You set a deadline, develop your action plan, track your progress, develop your product or service, then launch to the world.
- Manage – This is how you manage your product or service after you have launched. If it was a task or one off document you were producing, then this would be the follow up steps to support your client.
As you can see the methodology can be used to track smaller tasks and projects or development of larger products and services. Iterate through the phases as required to achieve continuous improvement.
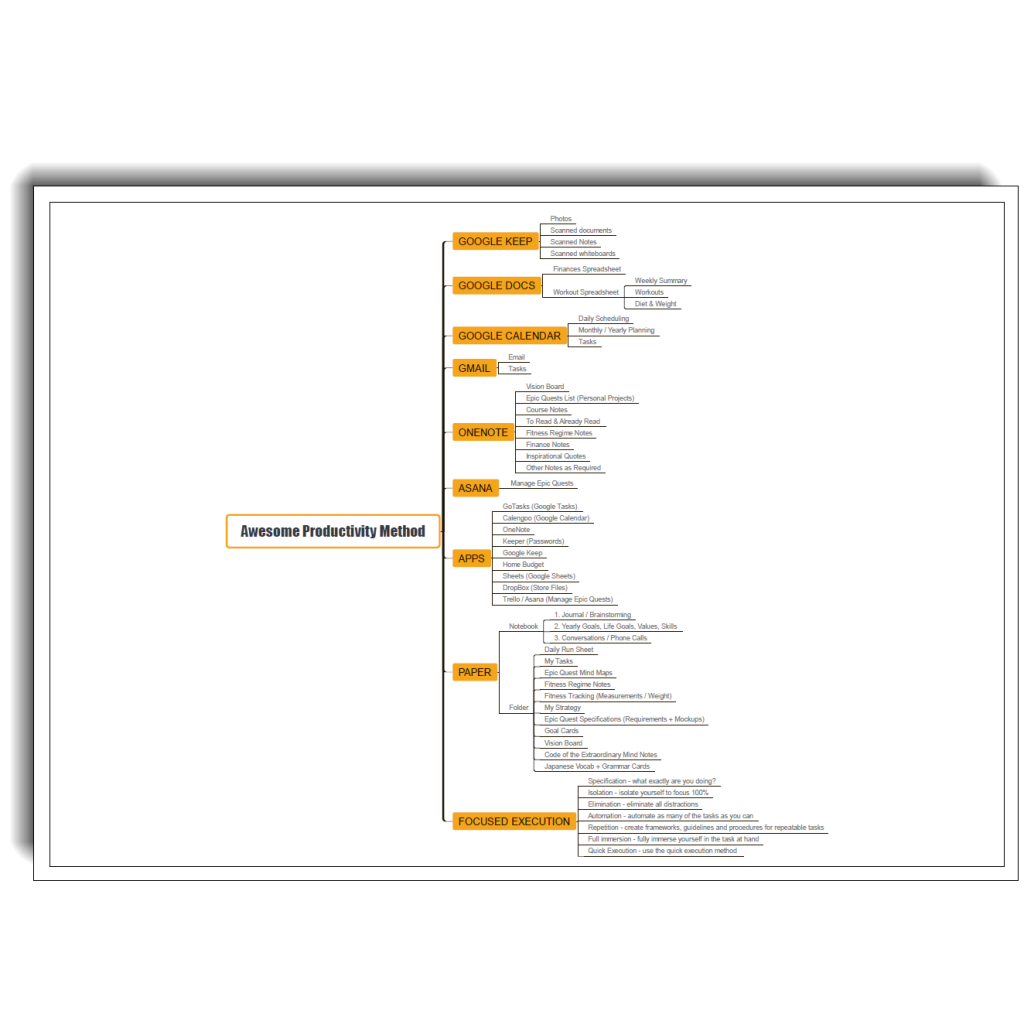
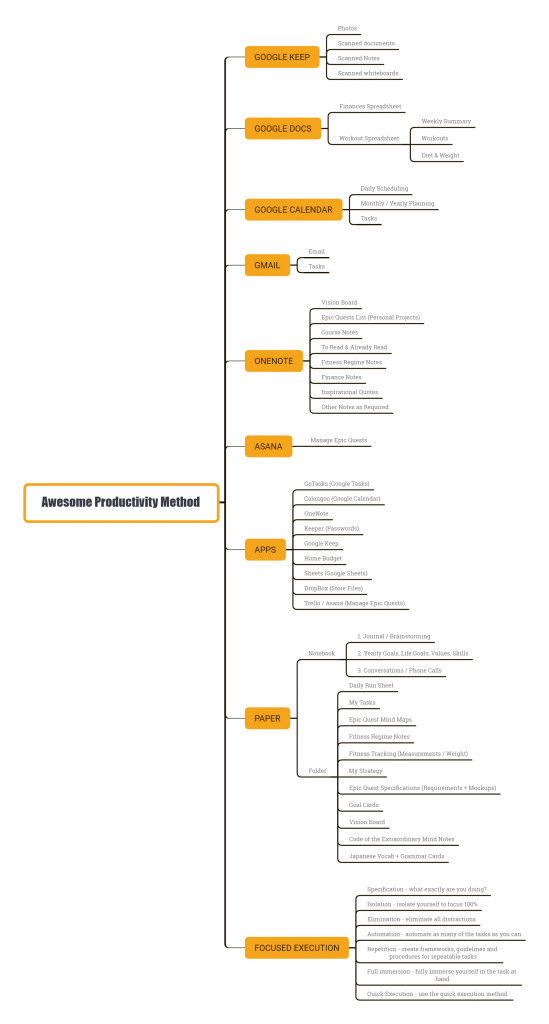
Download Xmind mind mapping software to edit the Awesome Productivity Method mindmap.
Here is the Quick ExecutionMethod mindmap source file.
Click the image below to see a larger version.