Just like the name suggests, Microsoft OneNote is a digital note-taking software. It helps you to create multiple notebooks at a single place.
Microsoft OneNote is often used by students to create academics notes but it can also be used by professional purposes such as organizing meetings, for travel journals, for shopping or to do lists and much more.
Below are a few tips on how to get started with Microsoft OneNote Like a Pro!
- Create a Notebook
The first step is to create a Notebook. Let’s assume you’re a Business Management student and you want to create a Notebook for one of your courses named Marketing.
- Right Click Notebook on the ribbon
- Then go to properties
- Here you can add the title of your Notebook, specify color, document location, and file format

- Create Sections
Just like a physical Notebook, Microsoft OneNote allows you to create multiple sections for each Notebook you create. For example, you created a Notebook for marketing course and now you want to add notes for each different chapter, you will add sections and rename them as chapter 1, chapter 2 and so on, Here’s how to add new sections:

- Right next to Notebook title, there is a Plus sign, tap on it to add new sections
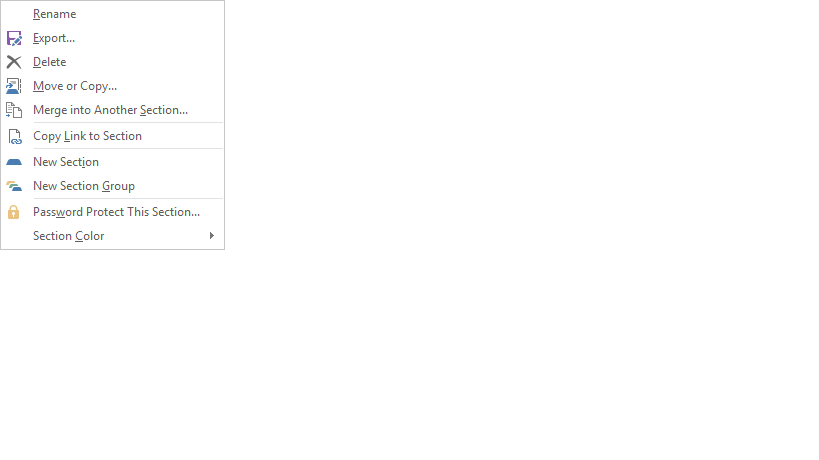
- When you right click each section an additional window will opens which will give options for making changes in each section
- Create Pages
Microsoft OneNote allows you to add as many new pages as you want to each section you created.
- On the right pane, there is an option to add new pages
- You can also add title, date, time, etc. to each page either by simply clicking or right-clicking each page

There are also a bunch of amazing page templates such as professional, academic and other which you can use.
- Simply go to Top Ribbon > Insert > Pages > Pages Templates

- Add Tags
One of our favorite feature of OneNote is adding specific tags. It is very easy to create a variety of tags for important points, be it a single word, line or paragraph and whether you want to discuss that important point later with the professor, employer, or you simply want to remember it.
- Go to Top Ribbon > Home > Tags

- Add documents. Pictures, Audio, or Video
You can also insert media into your OneNote pages such as images, files, recordings, link, etc.
- Go to Top Ribbon > Insert > Your desired media preference


- Convert Hand-written Text into Editable Text
Another interesting feature of Microsoft OneNote is it allows you to hand draw text and also allows you to convert that hand-written text into editable one.
- Go to Draw > Choose any Drawing tool > Draw text on your page
- Then in the draw tab go to Lasso select and select the text you want to convert
- Then go to and tap on Convert ink to Text

- Share Your Notebook
Just like other Microsoft office products like PowerPoint, Excel, Word you can also share your OneNote notes online with your friends, family, and coworkers.

- Go to File > Share
- Upload your Notes One Drive and create a link or simply add email of the
recipient and click send
- Data Recovery
Make sure to always store OneNote data on your One Drive. That way, if you happen to lose your data due to some undesirable or sudden situations such as if you happen to lose your mobile phone or laptop, or delete any page mistakenly, you can always retrieve or recover your lost data on Microsoft OneNote.
- Go to File > Info
- Then tap on Open
Backups

The instructions discussed above are just a few features of Microsoft OneNote. We hope these tips help you in understanding the basic of Microsoft OneNote. Once you start using OneNote and explore you it a little, you will easily get to know other features within no time as well.