• Skip to primary navigation
  • Skip to main content
  • Skip to primary sidebar

Training Profits

Learn How To Create An Online Course

  • START HEREHow it works
    • How It Works
    • > HOME
  • COURSESLearning For Trainers
    • Training Profits Course
    • Filming Profits Course
    • > All Training Courses
  • PRODUCTSStuff To Help You Succeed
    • The Training Manifesto
    • Training Profits Book
    • Training Templates
    • Green Screen People
    • Sell Your Courses
    • > All Products
  • RESOURCESMy Recommendations
    • Linktree
    • Kit & Resources
      • My Training Kit
      • Training Tools
      • Training Resources
      • Training Profits Merch
      • Free Guides
      • Free Videos
      • Course Creators Newsletter
      • Course Creators Association – coming soon
      • Free Webinars – coming soon
You are here: Home / Archives for training videos

training videos

How To Film Training Videos Using Your DSLR

By Leigh Burke on August 6, 2020

How To Film Training Videos Using Your DSLR

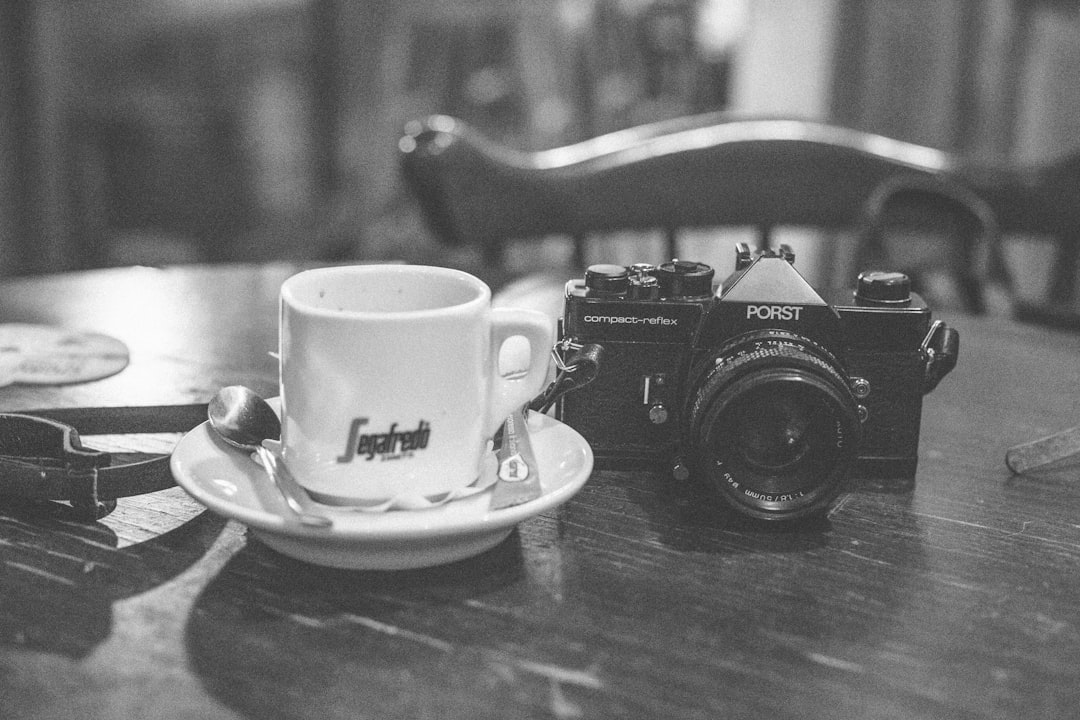
There are ways you can film training videos using your DSLR and you are guaranteed a great video. Many people lack the essential skill and technical know-how to make excellent training videos with their DSLR. This article contains tips on how to film training videos using your DSLR. So, if you have been finding it difficult to make a good video, this article is specially made for you.

Most of the modern DSLRs are very good at making videos, and you can use them to make training clips. It is a much more complicated shooting video with a DSLR than shooting stills. However, by following a few simple guidelines, you can achieve beautiful and creative results.

Tips On How To Film Training Videos Using Your DSLR

·       Learn to shoot your video in manual mode

This is very important to enable you to control the look of your footage. To achieve this, the shutter speed has to be double the frame rare while shooting the training video. It means that if the frame rate is 24FPS (frame per second), your shutter speed should be 1/50. To control the look of your footage, the aperture is your primary tool, and you can use it to control the depth of field and sharpness of your training video. The ISO will be the primary tool for controlling exposure. The lower the ISO, the less noise and grain there is. When you are in a low light environment, you will need a higher ISO, but you should try to limit this as much as possible. Also, please make use of autofocus as it gives you full control to decide what should be in focus. Try as much as you can to avoid using the built-in audio on your cameras.

·       Ensure You Have The Best Lens For Your Quality Footage

To film training videos using your DSLR, you need to be very selective in your choice of lenses. Any lenses with a consistent aperture, such as prime lenses with no zoom or professional zoom lenses, are perfect for high-quality videos. Your choice here will typically have the most impact on overall video quality.

·       Make Use Of Different Stabilization Gear

In the video, stabilization is critical than it would be for photography. Videos involve a moving picture, so being able to keep the camera steady is a top priority. It would help if you considered having shoulder rigs as it allows you to shoot stabilized videos for long periods. The most common form of video stabilization is the tripods, and it works in most situations. If you need to be more mobile, maybe you should consider a monopod or a Gorilla pod. These tripods are relatively inexpensive, and you can easily get them.

·       Shooting Your Video In Low Light Situations

When you are shooting training videos in low light situations, you will need to use the widest aperture possible to get usable footage. This means you would have to shoot your training video with either a prime lens with no zoom. The prime lens with no zoom provides a wide aperture of up to f/1.8 or f/1.2. Alternatively, you can make use of the professional zoom lens with an aperture as wide as f/2.8 if you have one. 

Conclusion  As a beginner, it might be intimidating to film training videos using your DSLR. However, the best you can do is go out there and shoot your footage until it becomes more natural to you.
How to Film Training Videos With your DSLR

By Leigh Burke on July 27, 2019

How to Film Training Videos With your DSLR

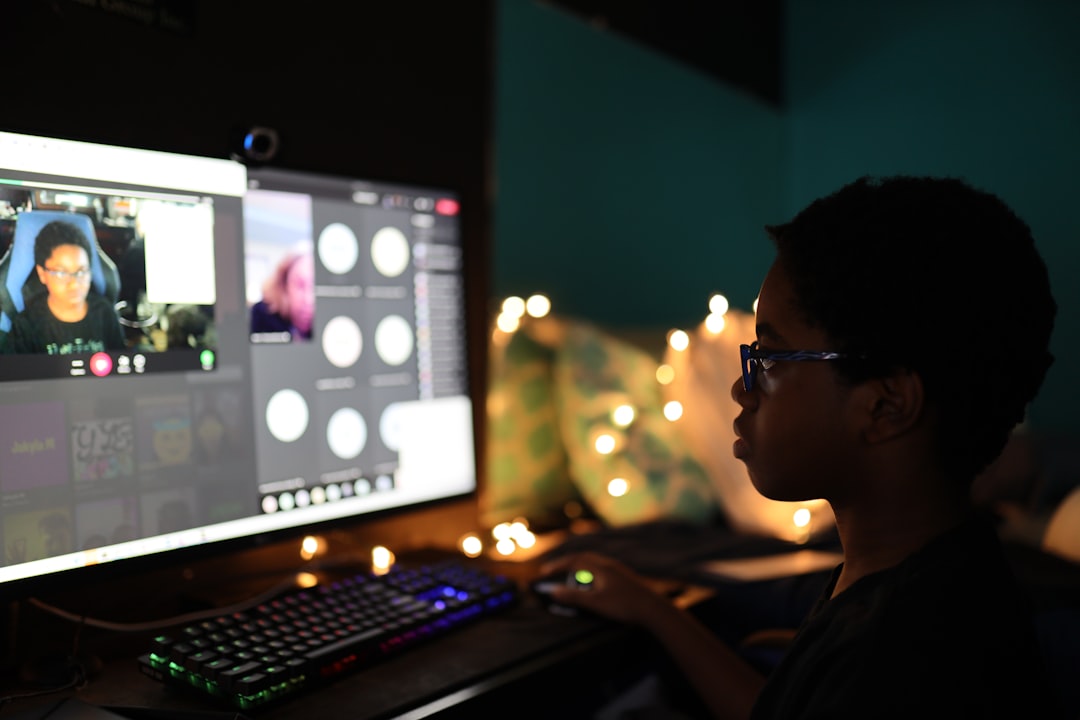
There are ways to film training videos with your DSLR camera that makes your work exceptional and wonderful to say the least. Most DSLR cameras are very good in shooting training videos, presentations, commercial productions, etc. There is no doubt that it is more difficult to film training videos with a DSLR camera than shooting still objects.

You need to understand that DSLR camera is made for events where clear separation from the background is needed. To film training videos with your DSLR camera, you need to ensure that the subject is no changing significantly. You don’t need a situation where wide and rapid panning movements with the camera are required.

Tips on How to Film Training Videos with your DSLR Camera

Below are the important things to put in place when filming training videos with your DSLR camera:

  • Select good frame size and frame rate

You have to know that every DSLR camera comes with a range of frame sizes and frame rates to choose from. Most professionals prefer the 1920 by 1080 frame size, shot either at 24 fps or 30 fps. This ensures that the video captures a high level of detail with a professional appearance when displayed.

It is advisable that you shoot your videos at 30 fps if you intend to integrate any kind of camera movement into your productions. The reason is, the camera-produced motion will be smoother than when shot at 24 fps. If your DSLR camera can shoot 1920 by 1080 at 60 fps, it will be much better but the only issue is that you will use up memory cards very quickly. Shooting at 60 fps also increases your editing/production time due to the file size.

  • Match the shutter speed and frame rate

Matching shutter speed and frame rate is another very important thing to incorporate when trying to film training vides with your DSLR camera. This allows you to get good, smooth looking video footage. So, you need to use a shutter speed of 1/50th when shooting at 24 fps, 1/60th when shooting at 30 fps, or 1/125th when shooting at 60 fps.

You can as well make use of your setting to achieve different creative effects. For instance, shooting at lower shutter speeds will add more blurs t your video thereby making it look subdued or dreamy.

  • Ensure the white balance have a correct setting

When moving between different lighting environments, it is advisable that your DSLR camera have a correct white balance setting. Without setting the colour temp right, you will never be able to get the video look 100% natural even with the most advanced colour correction tools.

  • Get a fluid head tripod

With a fluid head tripod, you can perform smooth pans side to side and tilts up and down. The fluid head tripod is a wonderful video tool accessory that will improve the way you film training videos with DSLR camera.

Once you have all these in place, you are certainly going to enjoy your video shooting. Good luck!

Primary Sidebar

SEARCH TRAINING GUIDES

FREE COPY OF TRAINING PROFITS MANIFESTO

Oh hi there 👋 It’s nice to meet you.

Fill in your first name and email address below and click ‘SEND ME MY COPY NOW’ to claim your free copy of the Training Manifesto.

We don’t spam! Read our privacy policy for more info.

Check your inbox or spam folder to confirm your subscription.

Categories

  • Training Profits Manifesto
  • Our Courses
  • Free Guides
  • Terms & Conditions
  • Privacy Policy
  • Contact Me
  • Socials

Cart

Copyright © 2025 · TrainingProfits.com · Log in