Are you thinking of running your first eLearning course but you do not have enough budget to get help from experts?
So, you have decided to create the course yourself but you don’t know where, how, and which software to start with. Don’t worry, consider your problem solved because we have got all the basic information on how you can kick start your journey on the creation of eLearning courses.
Why Adobe Captivate?
Adobe Captivate makes your course responsiveness very fast. Additionally, it is simple to use and has all the basic features of your course creation.
Okay now, let’s get you on a roll with basic features you need to create your first course:
Create a Project

When you run the Adobe Captivate, the start screen will give a few options to choose from to create your project on, such as:
- Responsive Project: Creating projects using this option means the projects will automatically be responsive on different devices such as desktop, tablet, and mobile device
- Software Simulation: Using this option you can record screen and record audio at the same time
- Video Demo: You can create video demonstrations for various learning purposes using this option
- From PowerPoint: If you have existing course content in the form of PowerPoint slides then you do not have the need to recreate them again. Open and upload PowerPoint from your desktop and start working.
- From Project Template: If you want to use a pre-made or specific template for your project then you can use this option
- Blank Project: If you want to create a project from scratch and customize it according to your own liking, then you can use this option
- After you’re done selecting the project type, choose screen/canvas size andpress create
Add Theme
Now as you enter the Adobe Captivate interface. You will have a range of features to work with and this is what your workspace will look like:

First thing, let’s choose a theme:
- Go to the top ribbon>theme>ok
- You can also download themes from Adobe Captivate online resources. There are many templates, themes, characters for various categories.
Add Slides
To add new/more slides:
- Go to the Top Ribbon>Slides
- Press drop-down bottom to choose the type of slide want to add
- Select a slide, go to properties on the right pane and customize it such as background, slide type, slide duration, etc.
- You can also add new slides by simply by right tapping the existing slide on the left pane

Add Text
To add text:
- Go to the top ribbon>text
- Select one option from either a text box or caption
- You can change font style, size, color, etc. by going to properties in the right pane

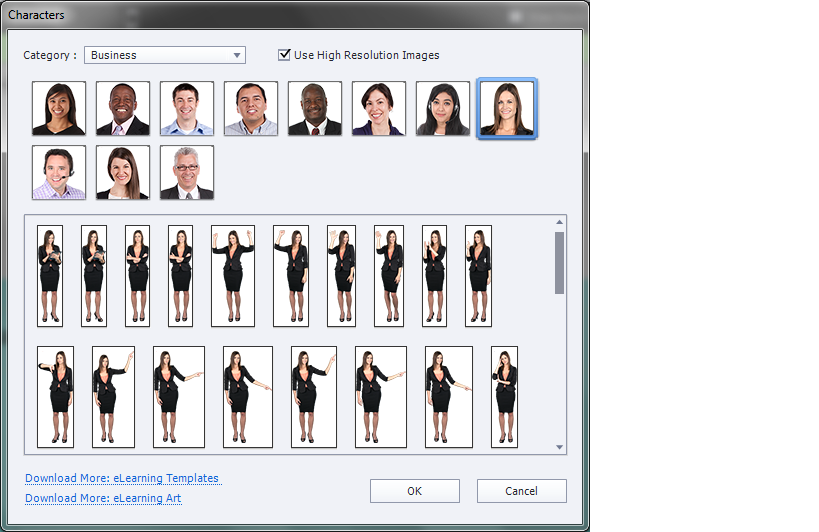
Add characters
Apart from shapes and other interactive objects, Adobe Captivate allows you to insert various characters. To do that:
- Go to top ribbon>media>add characters
- Choose character category such as business, casual, medicine, etc.
- Pick a character and download it from captivate eLearning Art
- Add downloaded character from your Pc, adjust character position and hit ok.
Add interactions
Interaction button is used for various purpose, you add an interaction button in a quiz to move to the next slide or page or a submit button.
- Go to the top ribbon>Interactions>interaction type>ok

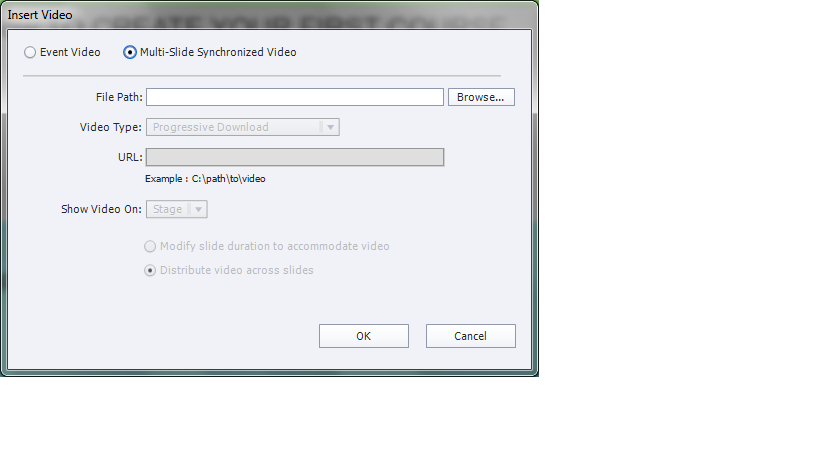
Add Audio/Video/Images
To add digital media:
- Go to the top ribbon>media
- Select the media option and upload from pc
- In case of audio and video files, you can also create a link and add it to the slides
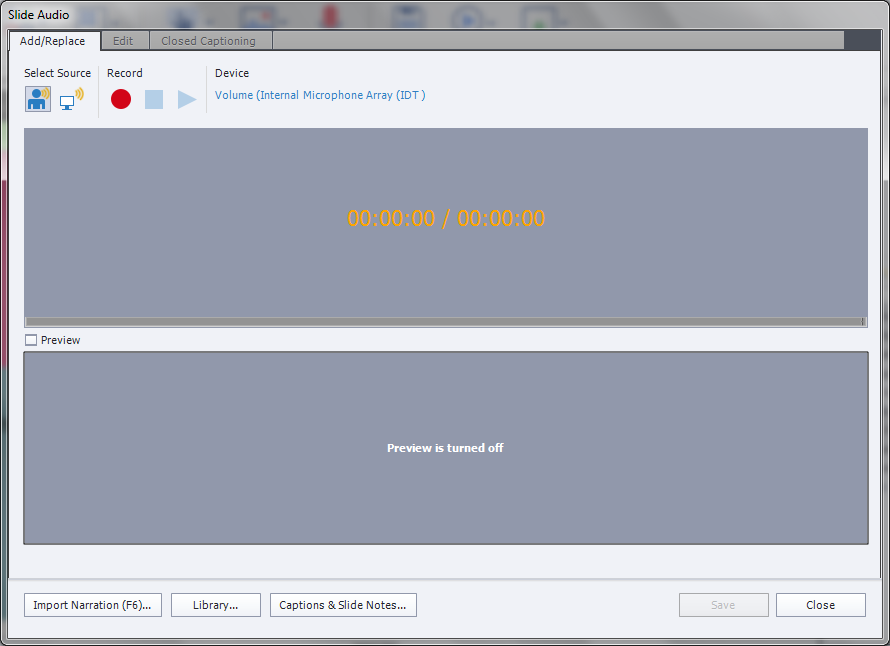
Record Screen
To record screen:
- Go to the top ribbon>record
- A new window will open
- Press start recording
- You can also record audio at the same time you record your screen
Add Quiz
To add quiz question slides:
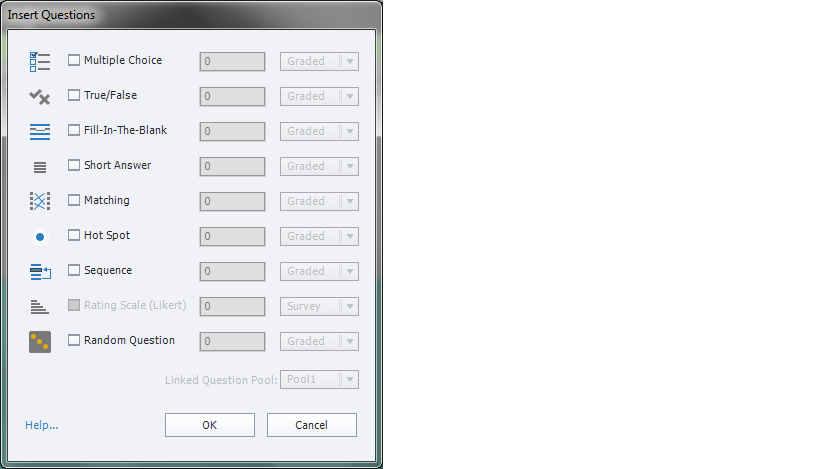
- Go to the top ribbon>Quiz
- Select quiz slide type
- Or
- Import existing quiz template
- Choose from question types such as mcqs, polls, short answers, etc.
- Add questions and press ok

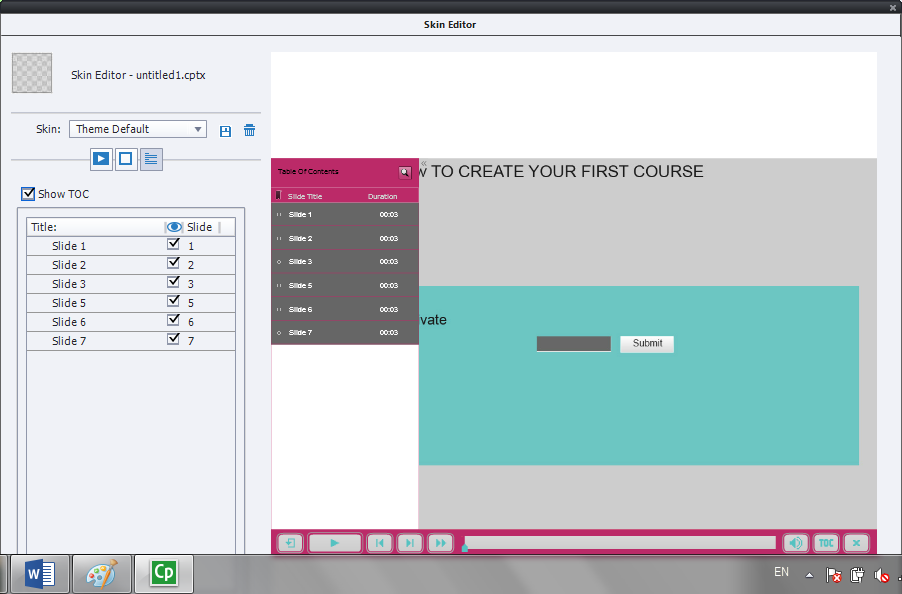
Add Table of Contents
To add a table of contents do the following steps:
- Go to Themes>Table of contents
- Or press SHIFT+F10
- A new window opens
- Press Show TOC to show slides
- For additional customization go to setting on bottom left side
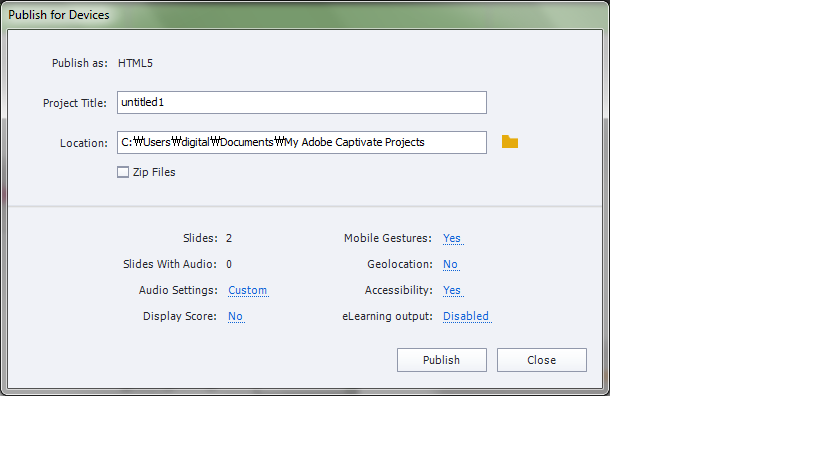
Save, Preview, and Publish
Once you’re sure that you have completed the project, preview your course and publish it.
- To preview the course go to the top ribbon>preview
- Press Publish which is right next to preview option
- Add project tile, browse category, select format and press ok
EndNote
This seems like a piece of very basic
information but to start as a newbie this information will serve you more than
just a basic purpose. If you’re still not sure whether you should try adobe
captivate, we recommend you to first try the trial version of this software
before you actually purchase it.
With that being said, Cheers and Happy Authoring eLearning courses!