• Skip to primary navigation
  • Skip to main content
  • Skip to primary sidebar

Training Profits

Learn How To Create An Online Course

  • START HEREHow it works
    • How It Works
    • > HOME
  • COURSESLearning For Trainers
    • Training Profits Course
    • Filming Profits Course
    • > All Training Courses
  • PRODUCTSStuff To Help You Succeed
    • The Training Manifesto
    • Training Profits Book
    • Training Templates
    • Green Screen People
    • Sell Your Courses
    • > All Products
  • RESOURCESMy Recommendations
    • Linktree
    • Kit & Resources
      • My Training Kit
      • Training Tools
      • Training Resources
      • Training Profits Merch
      • Free Guides
      • Free Videos
      • Course Creators Newsletter
      • Course Creators Association – coming soon
      • Free Webinars – coming soon
You are here: Home / Archives for training profits

training profits

How To Self Publish Your Book With Amazon Kindle

By Leigh Burke on April 8, 2019

Getting your book published can be a daunting and time-consuming task. Especially for new writers who have yet to attain recognition and make connections in the industry. Writing and crafting a meaningful book is already a lot of hard-work but then getting your book published by meeting a lot of publishers and the fear of rejection is the worst nightmare of a writer.

But hold on. That’s not a problem at all. Because, all thanks to Amazon KDP, now you can easily self-publish your books worldwide whether they’re eBooks or paperbacks within just 5 minutes. In addition, you can also reach millions of viewers, get your book reviews, and make a lot more money with Amazon Kindle Direct Publishing.

So, here we present you an easy guide on how you can publish your book via Amazon Kindle Direct Publishing:

Bookshelf   

First of all, go to the Amazon KDP official website and set up your new account. After signing in, the first thing you will see is Bookshelf.

This tab contains all of your uploaded books, whether they are manuscripts or paperbacks.

Once you choose your desired book upload option, you will have to through the further three steps process by entering book details.

Let’s suppose you want to upload a manuscript. Follow the below steps:

  1. Kindle eBook Details
  2. Enter your book language: currently, Amazon KDP supports 40 different languages.
  3. Enter your Book Title and Subtitle (Optional)
  • If your book is part of series then you can add Series Number to help readers find it more easily
  • Add eBook Edition Number
  • Add the name of the Author of the Book
  • Add names of additional Contributors (if there are any) such as editors, photographers, etc.
  • Write a compelling book Description that defines what the book is about precisely.
  • You canchoose Publishing Rights between owning them yourself or setting them as public domain
  • Add relevant Keywords to help your book appear in the search. You can add up to 7 keywords in each book.
  • If it is an educational or children book then you can add Grade and Age Range
  • Amazon KDP also allow readers to Pre-Order a book before it is actually published
  • Kindle eBook Content
  • Before you upload your manuscript follow the guidelines and abide by them. Moreover, you can also choose whether you want your manuscript to be affected by DRM or not.
  • Amazon also allows you to either create a brand new Kindle eBook Cover using cover creator or upload an already existing cover
  • Amazon Kindleallows you to create an eBook Preview. A book preview is where you can set the visibility of a few pages to your readers to let them decide if the book is worth reading or not.
  • An ISBN is a unique book code.You can use existing ISBN or create a free Kindle eBook ISBN.
  • Kindle eBook Pricing    
  • KDP Select Enrollment
  • Set the Territories to either worldwide or to a specific location
  • Set the  Pricing for your booksand choose your desired royalty plans from 35% or 70% 
  • If a reader has already purchased the hard copy of same or matchbook on Amazon then you can sale its ebook to the same person for a price of $2.99 or less.
  • You can lend your ebook to readers who have previously purchased your book for a period of 14 days
  • Agree to the Pre-order Terms and hit save and publish.

Report

Here in this tab, you can access all your sales reports, promotion and payment and other relevant records for each ebook you have uploaded.

Community

In this tab, you can easily connect with other authors, stay updated with recent announcements, access feedback and report your or resolve your KDP account issues.

KDP Select

KPD Select is an additional promotional tool for people who publish and sell their books. It allows reaching an unlimited audience, to earn maximum royalties, etc.  Anyone can enroll in KDP Select who meets the eligibility criteria and the enrollment is absolutely free of cost.

Amazon is one of the most popular and trusted site where millions of people sell and buy products every day. Provided benefits and ease of Amazon KPD for its users, we conclude that the authors should definitely give it a shot.
How To Use Trello To Manage Your Projects

By Leigh Burke on March 31, 2019

What’s Trello?

Trello is the coolest and an easy to use online project management tool which is most popular in the market at the present. With Trello you can create multiple projects, assign tasks to your team members, and can track the progress of each step.

So, who should use Trello?


Whether you’re a student working on an academic project, a teacher who wants to plan semester course work , an employer who wants to assign tasks to his team, a blogger who wants to create a long-term blog plan, a traveler who to create bucket list, a book reading enthusiast who want to create a reading library or schedule, a creative agency or a big organization, or you just want to organize your daily routine tasks, then Trello is the best tool for you!

Here’s a step by step guide on how to get you rolling with Trello!

Add Project Name

First, go to Trello’s website where you can sign up for free, either creating a new account or using an existing Gmail account.

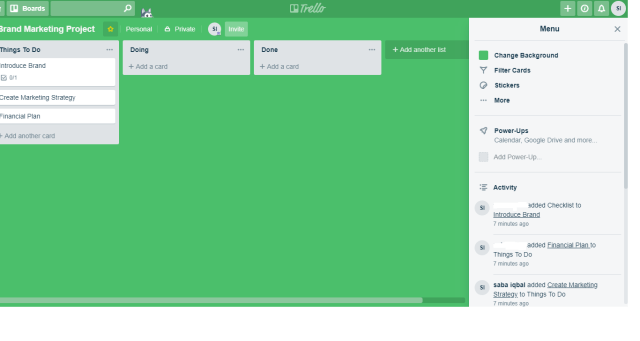
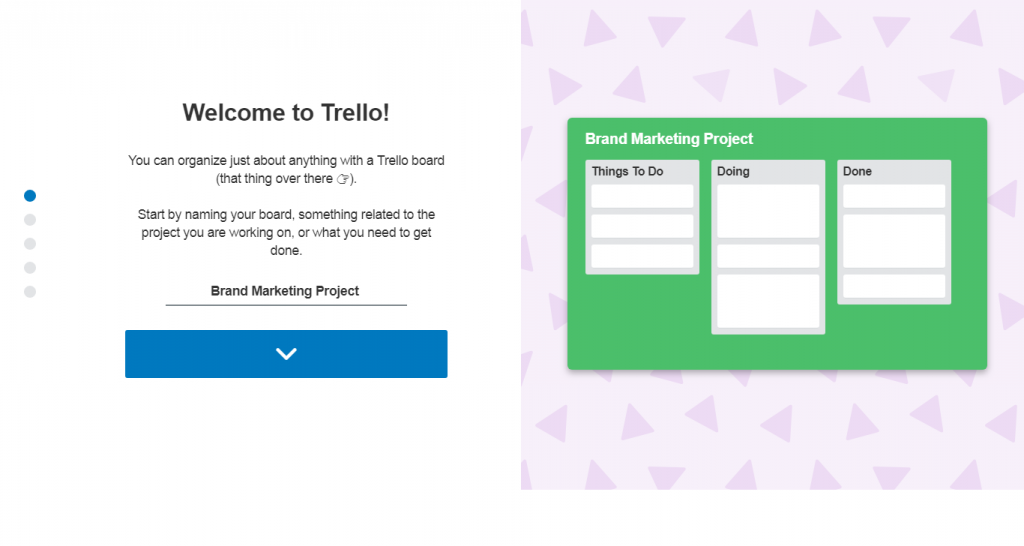
Once you’re done with one-click sign-up, add the project name you want to work on. Just like in the picture below let’s assume you want to work on Brand Management Project.

Create Lists

Next step is to create lists you want to work on. For example, in the picture below the lists are named as “Things To Do”, “Doing” and “Done” or you can create list names of your own choice.

Create Cards

Each further category of a list is called a card. For example, in our Brand Management project, we have added three lists. Let’s say we add three additional cards in the “Things To Do” list as our project deliverables named:

  • Brand Introduction
  • Marketing Strategy
  • Financial Planning

Create Boards

Once you’re done assigning project name, creating lists and cards, you will be then directed to your Trello board or simply your Trello workspace.

Trello Board is where all your work is placed, done, shared or in simple words where your project work is managed.

You can also create multiple project boards for your every project in Trello.

Create a Team

Creating a team is very simple. Just tap on the Trello logo on the top center of your board and you will be directed to another page. It will look like in the picture below.

On the left corner, tap on create a team and add participant’s name and click create.

Notifications

The notification function helps you keep on the track on what’s being done, by whom and when. Now you will never miss a thing.

Menu

The menu option shows your project activity, it also gives options to change board background, add card filters, stickers, Power-ups, and much more.

Trello Power-Ups

Power Ups in Trello are just like extensions are in Google Chrome. These are additional tools you can add to your Trello board to manage your projects more effectively.
You can add/drop the power-ups as you wish, depending on the Trello price package you’ve subscribed.

Create A Shareable Board Link

Just like many other online workspaces you can also create a shareable link with Trello. Using this link anyone can view your project board.

Go to the right corner, tap on menu and at the end of it you will see an automatically generated board link of your project.

Trello’s diversity and ease to use with interesting features show that it is almost for everyone- simply one tool for all. One can share his/her Trello board with public or can keep it privately. The online collaboration has made it easy to interact with team members even if you’re sitting at the other corner of the world.

How To Brand Your Business For Success

By Leigh Burke on March 13, 2019

Having professional branding for your business is essential to projecting a positive, reliable image to you potential clients. Think about it, would you do business with a company that has a bad logo or website? If you look at the social accounts of a company does it give you more confidence if there is a consistent theme, colours and logo across all the accounts and their website?

The Logo

Creating a logo doesn’t need to be a massively expensive venture. There are plenty of options for creating one yourself, or you can hire a designer from a website like Fiverr.com to come up with some options for you. You want to make sure you have a high resolution version of your logo, and that it is a PNG file with a transparent background. If you have a tagline, it also pays to have several layout options, e.g. logo at bottom, logo at the side etc. as shown below.

Video

Video is an important element to engage your audience. To brand your videos and male them more professional, you should always include a short intro or outro (scene at the end of your video). This can be as simple as an animation of your logo with a short music jingle. Keep it short. Nobody wants to sit there for 5-10 seconds watching your intro. If you do have a longer logo animation, perhaps include it at the end as an outro. You can create these animations yourself with various software packages available online, or simply search “video intro” on Fiverr.com to find a virtual assistant to help you create your intro. Below are some sample intros created for Training Profits.

Ebooks, Reports & Courses

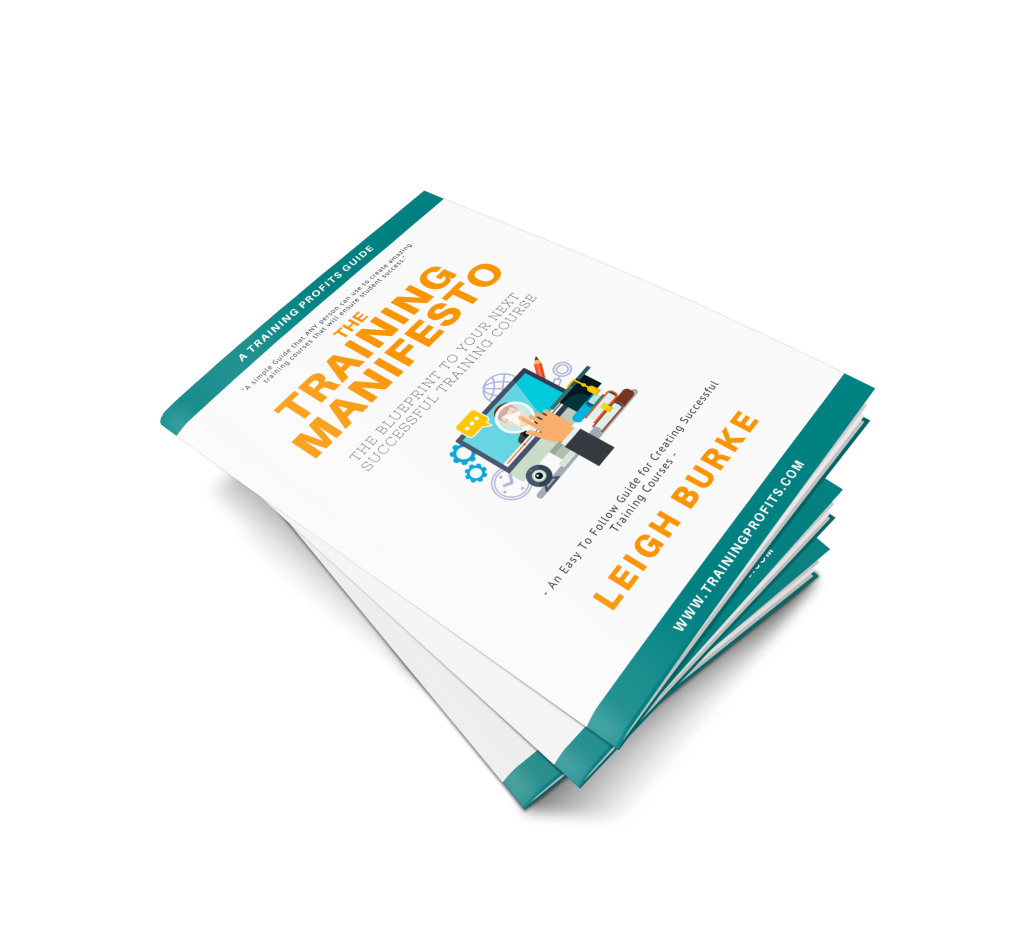
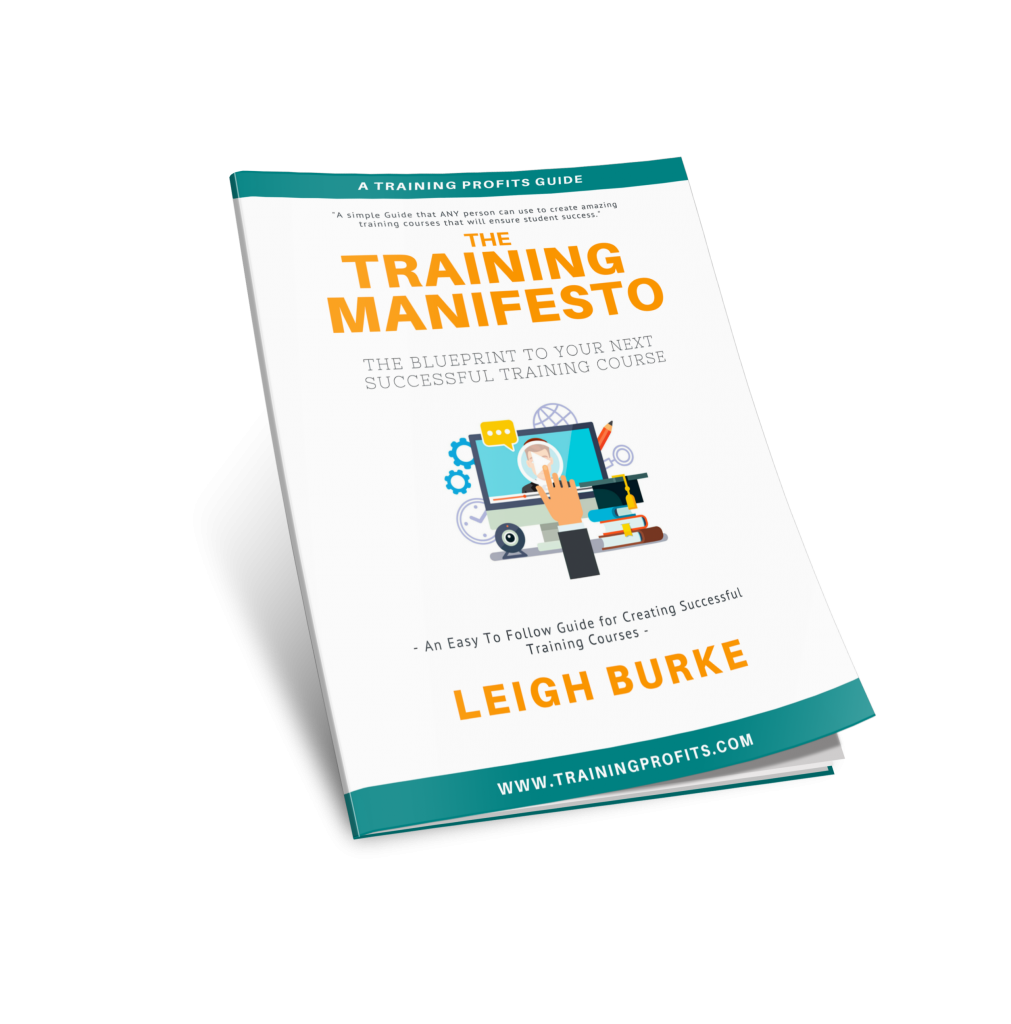
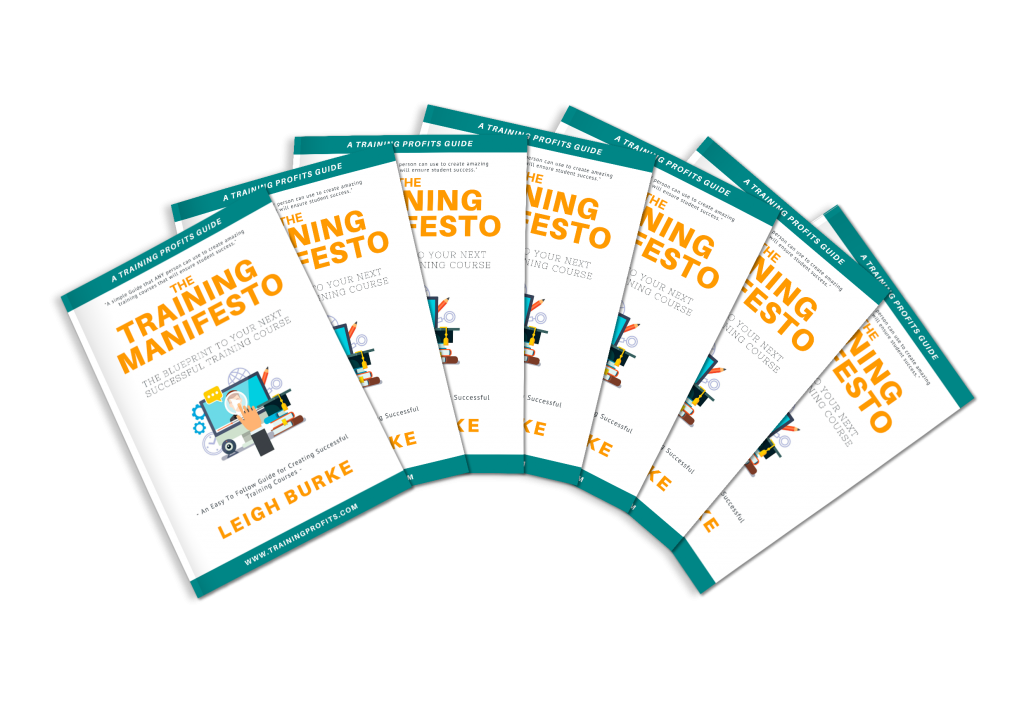
If you are producing eBooks, Reports or Courses, it is important to also brand these and create digital collateral that will help your audience associate the resources with your brand and also to raise the perceived value of the product or resource. People want to be able to visualise what it is they are downloading or purchasing. What is included? If it’s a course, are there worksheets, workbooks, videos, audio files? This can all be represented in a graphic. You can get your designer on Fiverr.com to create these graphics or search online for “ebook cover creator” and create these yourself. Below are some examples of what we created for our “Training Manifesto”. The original cover was created in Canva.com and then the flat file was turned into the various 3d graphics.

Social accounts

Most people know about Instagram, Twitter, Facebook and Youtube. There are also other social networking sites like LinkedIn, as well as publishing sites like Medium, Reditt etc.

If you haven’t already registered for these services, I recommend you do so (even if you are not planning on using them straight away). A great way to check if your name is available on a particular service is to use a website like namechk.com. It will check your name availability across all the major social network sites and a plethora of other services. Register as many as you need, but make sure you register for the major ones mentioned above. In addition, on Facebook, register your name for a Facebook page and a Facebook group.

Once you have registered for all these services, log into each one individually so you can set up your branding. Your branding will include things like your profile photo, header banners etc. Each service has different requirements for size etc. so check what they are before you upload your graphics. On Canva.com, they have templates for things like Youtube cover art, facebook banners etc. Use these templates ot make sure you get the right size.

Click our social icons on the right (they’ll open in new browser tabs) to have a look at our current branding for each of the services.

Conclusion

As you can see , utilising Logos, Videos and Graphics within your business helps you portray that professional touch. Your audience is more likely to engage with you if you have consistent branding across your website and social accounts. If you haven’t already done so, jump on Fiverr.com and hire a designer to help you create some of the logos and graphics you may require. It’s relatively inexpensive, and you can start being more professional today.

Primary Sidebar

SEARCH TRAINING GUIDES

FREE COPY OF TRAINING PROFITS MANIFESTO

Oh hi there 👋 It’s nice to meet you.

Fill in your first name and email address below and click ‘SEND ME MY COPY NOW’ to claim your free copy of the Training Manifesto.

We don’t spam! Read our privacy policy for more info.

Check your inbox or spam folder to confirm your subscription.

Categories

  • Training Profits Manifesto
  • Our Courses
  • Free Guides
  • Terms & Conditions
  • Privacy Policy
  • Contact Me
  • Socials

Cart

Copyright © 2025 · TrainingProfits.com · Log in